
7 Steps To Decorate Your New Home After Moving
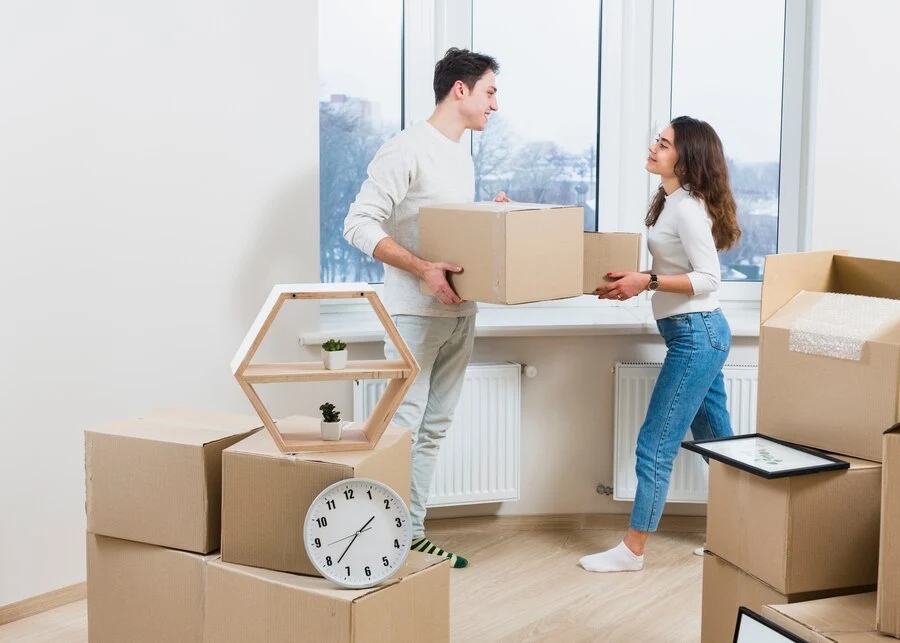
After putting the moving stress behind you, and settling in, it’s time to get creative and decorate your new home.
This is an exciting step in any new home owner’s life!
You’ve signed and made it official, received the key, found a trusted removalist and finished with the long moving process. Now is the time to focus on the fun part, making your new house into a home, and turning it into everything you wish your old one was.
But before you start moving boxes to individual rooms, unpacking them, and carrying bulky and heavy furniture all over the place to find where you want to keep it, first think about the process of how you plan to decorate your new home.
After deciding on the room you want to start with first, what next? Take a structured approach to redecorate your home, rather than having chaos throughout every room of your new home at once.
Here are 7 Steps To Decorate Your New Home After Moving:
1. Decide Where To Start
Trying to decide where to start when having to decorate a whole house can be quite overwhelming. While it is highly a case of personal preference, a suggestion, is to begin with the high traffic areas of your home, such as the living room, or any area where you spend most of your time and entertain guests.
You can turn the less commonly used rooms/areas of your home into a storage space for your living room furniture.
After deciding on which room you want to start with, stick with it! Otherwise, procrastination will prevent you from making any progress on what seems like a huge task! It’s best to break things down into smaller tasks and complete one before moving onto the next.
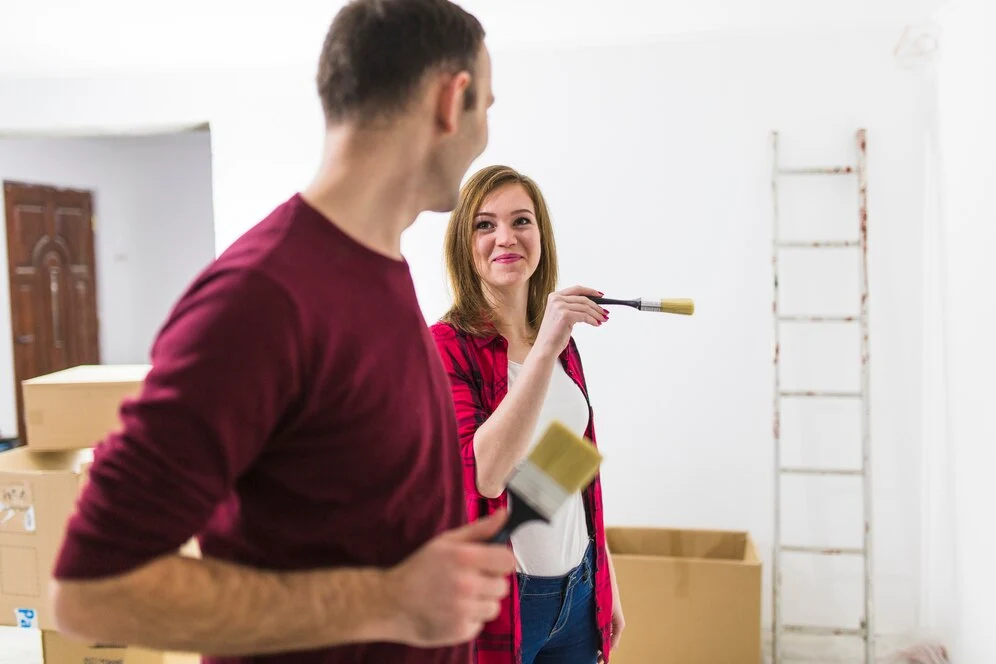
2. Tackle The Messy Task
Instead of setting up your furniture, only to have to move It again so that you can decorate, paint your house first. Check the surfaces and make sure they are free of any dents.
Are you going to paint an entire room? If so, start at the top, and work your way down to the bottom. First, start at the ceiling, and paint down about 3-5 cm onto the walls. This will give you a neat edge.
After you paint the walls, you can then cover this line later, but it’s recommended to give yourself a bit of room to work with. Then use the same method while painting down towards the floor, and paint onto the skirting board, then repaint this area later.
Another trick is to use masking tape and cover the skirting board and the ceiling. This way you can paint over the walls without having to worry about missing a spot. The masking tape can be carefully removed, and won’t rip off any paint.
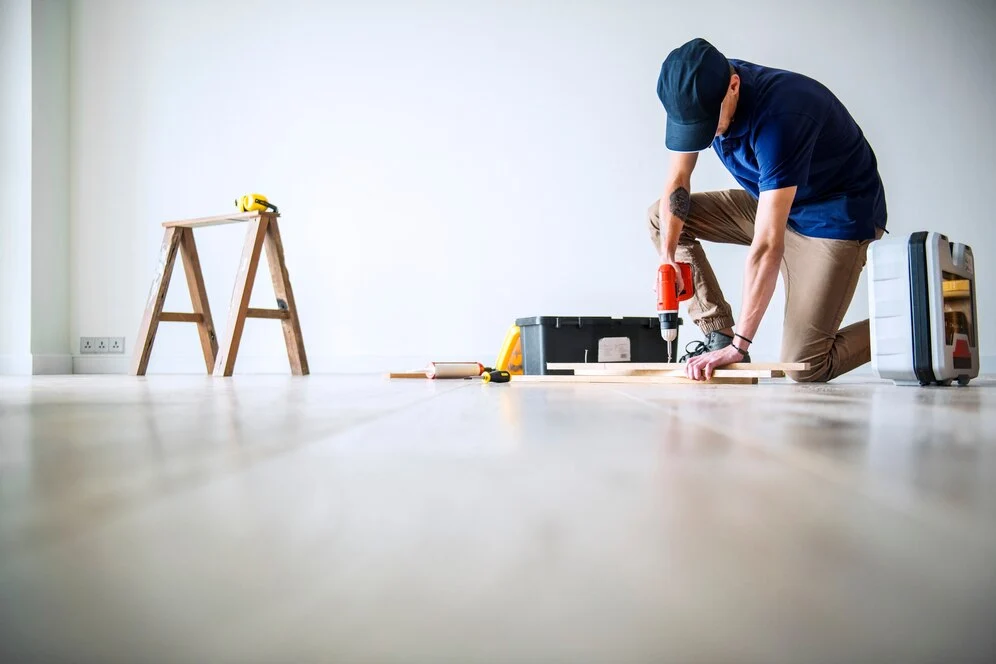
3. Install The Flooring
After you’ve finished painting the walls and given them a much-needed facelift, it’s now time to install the flooring.
If you do the flooring before you finish painting, you may accidentally drip paint over your expensive brand new carpet or wooden floorboards.
The flooring can also alter the color of the walls. So it’s better to buy your flooring after you have decided on the paint color.
If you also wish to add new doors, then you should do this after the flooring has been added. Otherwise, you may have to pay extra to have the new doors re-planed.

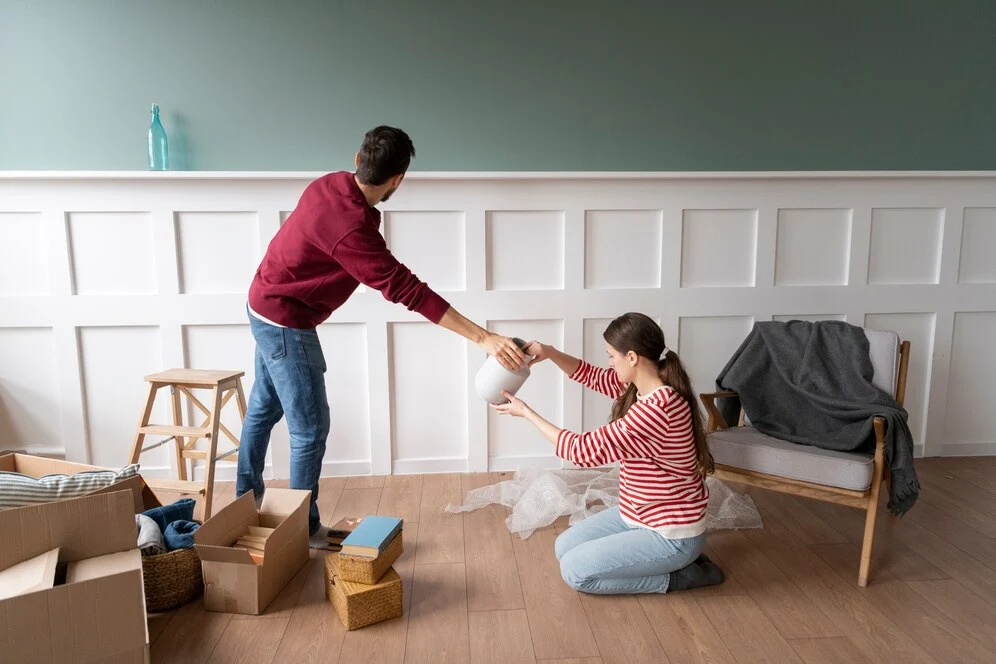
4. Set Up Your Furniture
It’s highly likely that you already have pieces of furniture you are looking to incorporate into your new home, instead of replacing it all and starting from scratch.
After you’ve finished with your paintbrushes and put away the tools. It’s now time to decide on your furniture placement, and get it set up.
If there are any extra pieces you will need to fill in the extra space, now is the best time to buy them. You should first assemble the larger pieces of furniture such as beds, wardrobes, couches, and drawers. This way you can then see what smaller pieces to add. As well as what will fit around these larger and harder-to-move items.
If you need an extra hand unpacking your items and assembling your furniture, then Next Level Removals is able to help, at affordable prices.
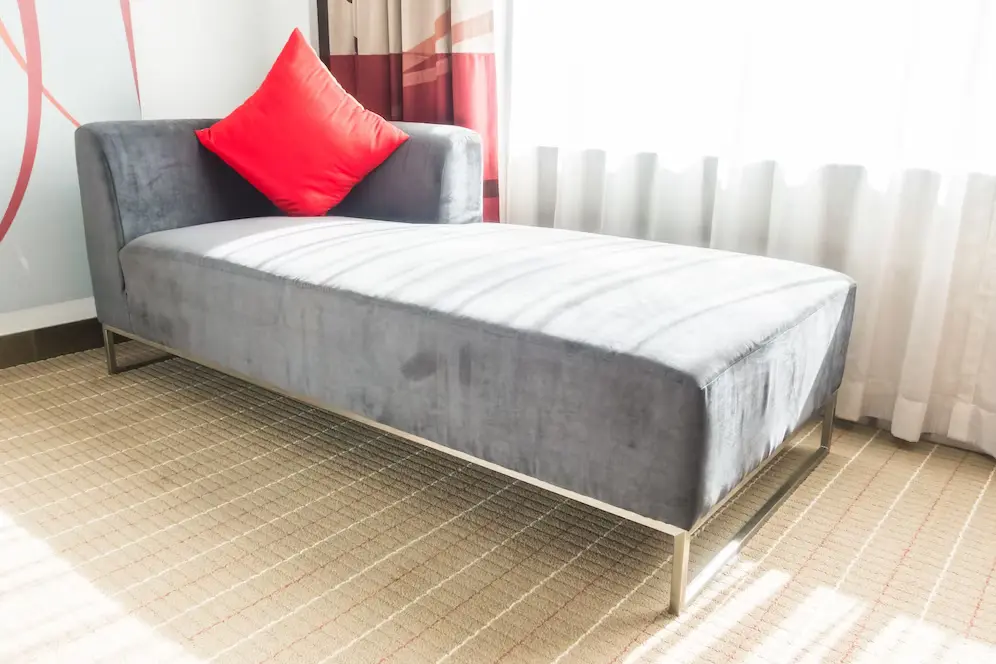
5. Positioning Beds and Couches
The best way to position beds and couches in any room is for them to face the focal point in the room. But, before you start dragging furniture around to find the best setup, there’s an easier way.
Try to do a rough sketch of the room and different possible layouts, and see which you like most. Also, make sure to factor in where you will connect the aerial for the TV. As well as where any power points are for lamps and electrical items.
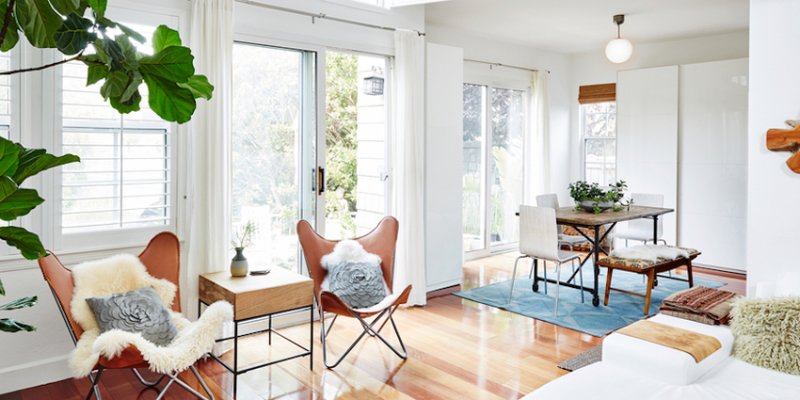
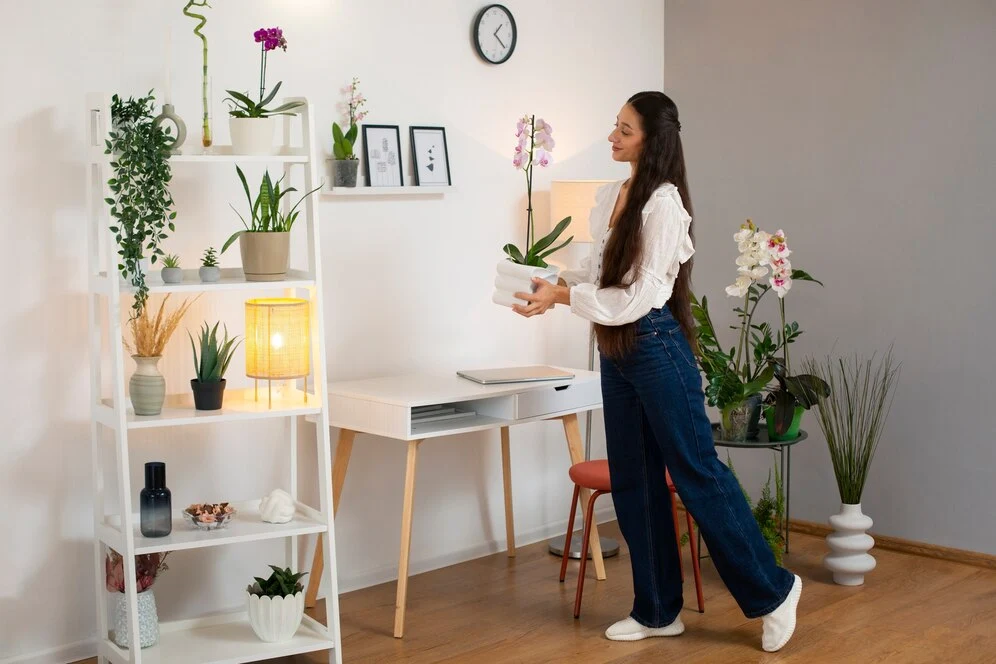
6. Add The Finishing Touches
After you’ve created a layout you are happy with for all of your items, from your bed to the kitchen bin, it’s now time for the fun part. Adding your personality to your house to make it feel like your new home!
Now it’s time to start adding accessories that showcase who you are and also tie into the theme of your home. Take into consideration the size of the rooms, and pick accessories that utilize each space perfectly.
Larger accessories work well in large rooms but may look out of place in smaller rooms. Tall props also go great when paired with high ceilings. But they can look mismatched in a room with a low roof.
For further tips on decorating and renovating your home, visit your home.
7. Take Your Time
While decorating your new home immediately after moving may be exciting and tempting, it’s best treated as a gradual process rather than a 100-meter sprint.
After spending more time in your new home, you will have many ideas on what to add to a room. It’s better to take it piece by piece and add things you truly love rather than rushing in, having regrets, and wasting money. For more information, take a look at this checklist for moving home.
Call 1300 005 400, or contact us online for an obligation-free quote.